Product
Sie können das Produkt (oder die Dienstleistung) hinzufügen, das Sie verkaufen möchten. Die folgenden Schritte leiten Sie durch den Prozess des Hinzufügens eines Produkts.
Konfigurieren von Produkteigenschaften
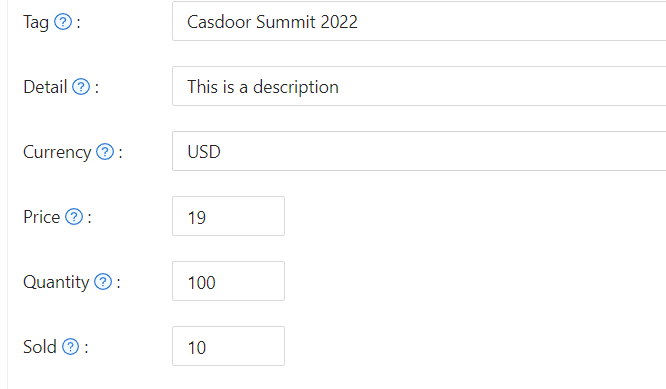
Zuerst müssen Sie die grundlegenden Eigenschaften des Produkts verstehen:
- Tag
- Detail
- Währung
- Preis
- Menge
- Verkauft
- Is recharge: When enabled, the product becomes a recharge type with custom pricing
Recharge Products
Recharge products allow users to add amounts to their account balance. When you enable the "Is recharge" option, you can configure how users select recharge amounts:
Preset amounts: Define specific recharge values (e.g., $10, $50, $100) that users can select. In the product store, these appear as clickable blue tags, making it easy for users to choose from your suggested amounts. The store displays up to three preset amounts. If you define more than three, a "+N" indicator shows how many additional options are available.
Custom amounts: Allow users to enter any amount they wish to recharge. When enabled, the product store displays a "Custom amount available" indicator, letting users know they can specify their preferred amount during purchase.
You can combine both approaches by providing preset amounts while allowing custom values. To restrict users to only your predefined amounts, disable the custom amount option.
Configuration options:
- Add multiple preset amounts in the product editor
- Toggle "Disallow custom amount" to restrict users to preset values only
- When custom amounts are disabled, at least one preset amount must be defined
Upon successful payment, the selected amount is automatically added to the user's balance.
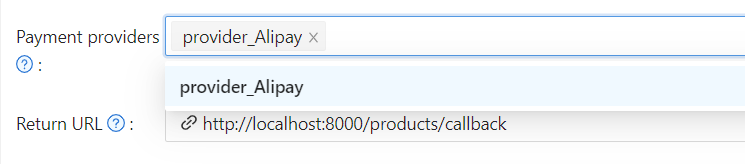
Zahlungsanbieter
Neben dem Festlegen dieser Eigenschaften müssen Sie auch Zahlungsanbieter zum Produkt hinzufügen. Mehrere Zahlungsanbieter können zu einem Produkt hinzugefügt werden.
Um zu erfahren, wie Sie einen Zahlungsanbieter konfigurieren, siehe Zahlungsanbieter
Success URL (Optional)
If you need the provider to redirect users directly to a custom URL instead of the Casdoor callback page, you can fill in the Success URL field. When configured, Casdoor will append the payment owner and transaction name as query parameters to your provided URL.
For example, if you set the Success URL to http://example.com/payment/success, users will be redirected to:
http://example.com/payment/success?transactionOwner={paymentOwner}&transactionName={paymentName}
You can include additional query parameters in your Success URL, such as:
http://example.com/payment/success?customParam=value&transactionOwner={paymentOwner}&transactionName={paymentName}
Important: If you configure the Success URL field, you must manually call the NotifyPayment API to complete the transaction, otherwise the payment will fail.
Call the API endpoint: api/notify-payment/{paymentOwner}/{paymentName} using the parameters provided in the Success URL query string.
Access Controls
Products, orders, payments, plans, pricing, and subscriptions enforce admin-only editing permissions. Non-admin users can view these resources but cannot create, modify, or delete them. When viewing as a non-admin, action buttons and form controls are disabled to prevent unauthorized changes.
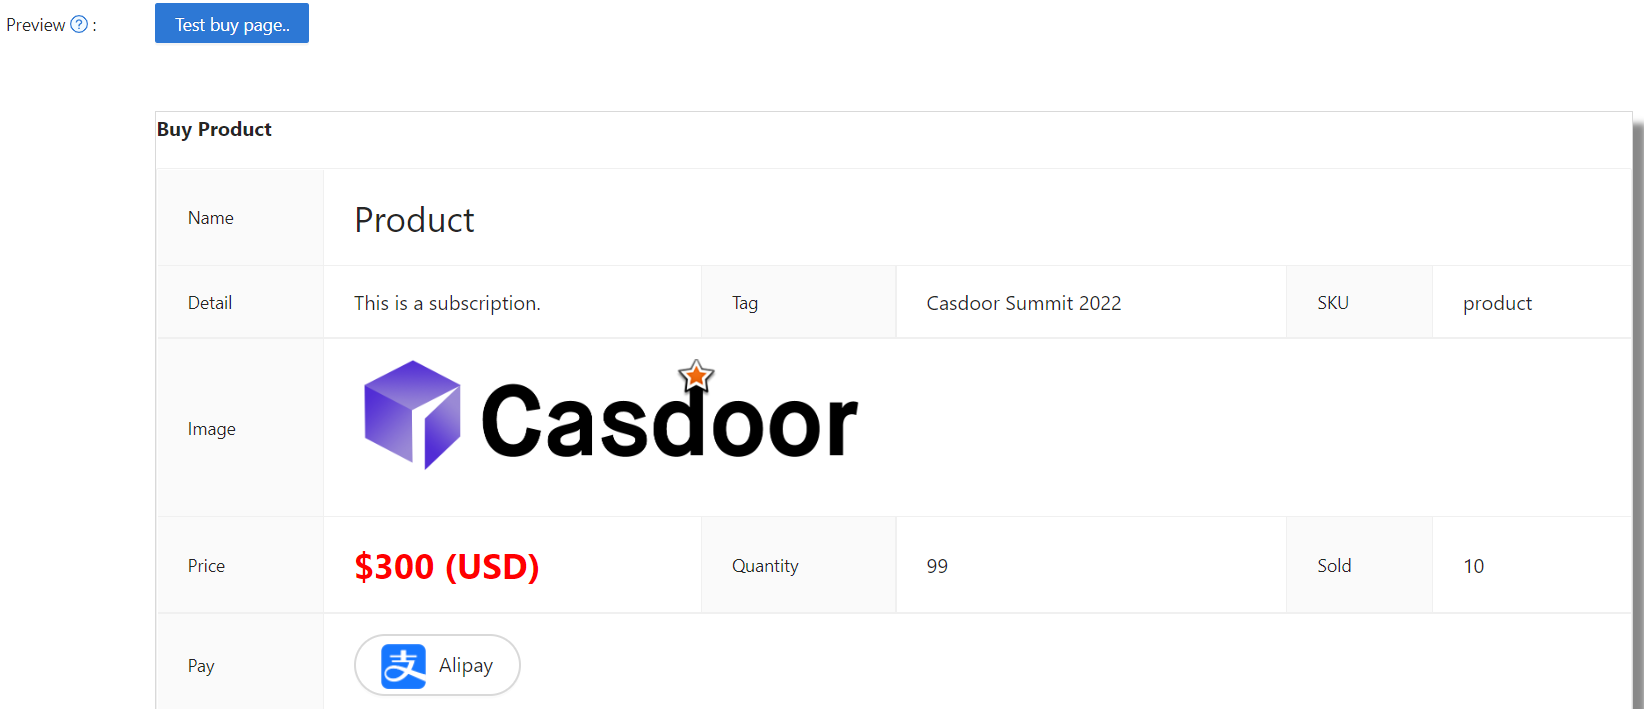
Produktvorschau
Sie haben es geschafft! Überprüfen Sie die Details und speichern Sie: