Product
판매하고자 하는 제품(또는 서비스)을 추가할 수 있습니다. 다음은 제품을 추가하는 과정을 안내합니다.
제품 속성 설정
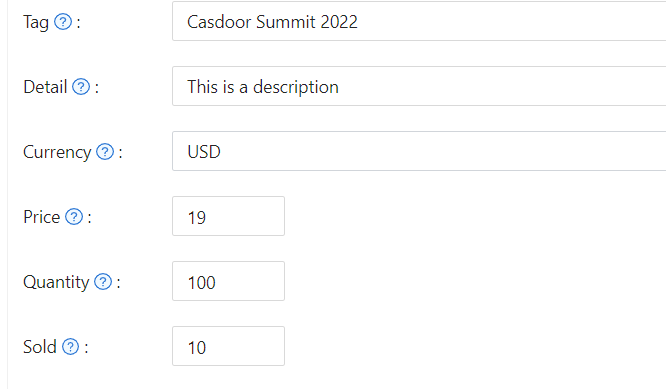
먼저, 제품의 기본 속성을 이해해야 합니다:
- 태그
- 세부사항
- 통화
- 가격
- 수량
- 판매됨
- Is recharge: When enabled, the product becomes a recharge type with custom pricing
Recharge Products
Recharge products allow users to add amounts to their account balance. When you enable the "Is recharge" option, you can configure how users select recharge amounts:
Preset amounts: Define specific recharge values (e.g., $10, $50, $100) that users can select. In the product store, these appear as clickable blue tags, making it easy for users to choose from your suggested amounts. The store displays up to three preset amounts. If you define more than three, a "+N" indicator shows how many additional options are available.
Custom amounts: Allow users to enter any amount they wish to recharge. When enabled, the product store displays a "Custom amount available" indicator, letting users know they can specify their preferred amount during purchase.
You can combine both approaches by providing preset amounts while allowing custom values. To restrict users to only your predefined amounts, disable the custom amount option.
Configuration options:
- Add multiple preset amounts in the product editor
- Toggle "Disallow custom amount" to restrict users to preset values only
- When custom amounts are disabled, at least one preset amount must be defined
Upon successful payment, the selected amount is automatically added to the user's balance.
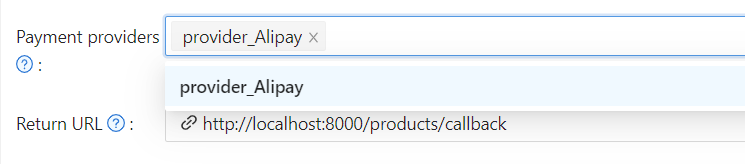
결제 제공자
이러한 속성을 설정하는 것 외에도 제품에 결제 제공자를 추가해야 합니다. 제품에 여러 결제 제공자를 추가할 수 있습니다.
결제 제공자를 설정하는 방법을 알아보려면 결제 제공자를 참조하세요
Success URL (Optional)
If you need the provider to redirect users directly to a custom URL instead of the Casdoor callback page, you can fill in the Success URL field. When configured, Casdoor will append the payment owner and transaction name as query parameters to your provided URL.
For example, if you set the Success URL to http://example.com/payment/success, users will be redirected to:
http://example.com/payment/success?transactionOwner={paymentOwner}&transactionName={paymentName}
You can include additional query parameters in your Success URL, such as:
http://example.com/payment/success?customParam=value&transactionOwner={paymentOwner}&transactionName={paymentName}
Important: If you configure the Success URL field, you must manually call the NotifyPayment API to complete the transaction, otherwise the payment will fail.
Call the API endpoint: api/notify-payment/{paymentOwner}/{paymentName} using the parameters provided in the Success URL query string.
Access Controls
Products, orders, payments, plans, pricing, and subscriptions enforce admin-only editing permissions. Non-admin users can view these resources but cannot create, modify, or delete them. When viewing as a non-admin, action buttons and form controls are disabled to prevent unauthorized changes.
제품 미리보기
완료되었습니다! 세부사항을 검토하고 저장하세요:
